|
|
After we gather the supplies needed for the launch, we'll head out to the inflation shelter to begin inflating the balloon. When taking the balloon out of its bag, we must be careful not to touch the balloon as oils from our skin can cause the balloon to burst early. After the balloon is spread out, the neck of it is connected to a nozzle on the table. The nozzle and hose are connected to a hydrogen tank in the adjacent room.
|
 |
|
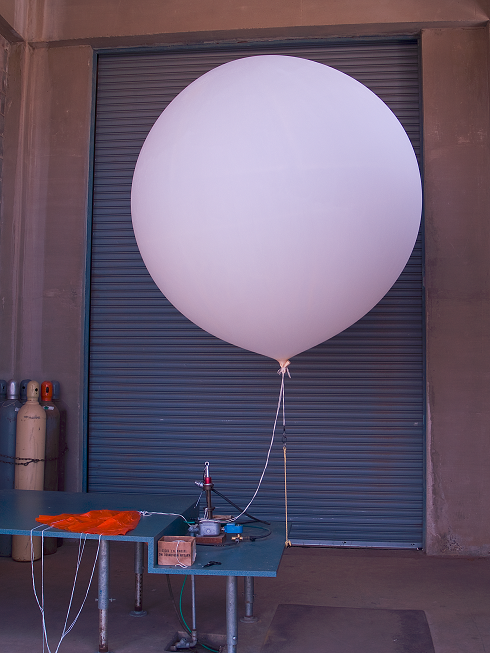
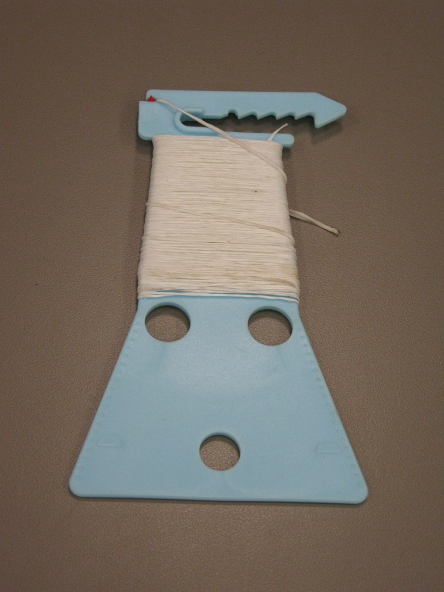
Before inflating the balloon, we make sure a proper weight (typically 1,500 grams) is added to the balloon. However, when it is windy or icing is possible, more weight will be added to ensure the balloon can ascend at an acceptable rate. Next, we'll go to the adjacent room and turn on the gas to begin inflating the balloon. It normally takes about 10 minutes for the balloon to inflate, so during this time, we'll prepare the rest of the flight train. This consists of spreading out the parachute, cutting a few pieces of twine, and stretching out about 100 feet of twine that will connect from the parachute to the radiosonde. If the winds are strong (in excess of 25 mph), we'll use a train regulator that will significantly shorten the length of string between the radiosonde and the parachute. The separation distance will typically be 10-15 feet instead of the normal 100 feet. This is used to prevent the sonde from immediately hitting the ground if a sudden gust of wind hits the balloon. However, we eventually want the radiosonde and balloon to be separated by at least 100 feet in order to minimize the chance of contaminated data. The handy thing about the train regulator is that it actually unwinds itself like a kite as the balloon ascends and gradually increases the distance between the balloon and radiosonde.
Once the balloon is filled, it will lift upward and the hydrogen flow will automatically shut off. Note that the balloon now has a diameter of about 6 feet. After the gas is shut off at the tank, a loop of string is tied around the neck of the balloon, which also connects the parachute to the balloon. The lip of the balloon is then tied off securely with another piece of twine to make sure no gas escapes as it ascends.
|
 |
|
After inflating the balloon, we head back inside to power up the Radiosonde Workstation and turn on the TRS to let it warm up. Next, it's time to prepare the radiosonde. The radiosonde is a small instrument that transmits temperature, humidity, and pressure data. The radiosonde is equipped with a Global Positioning System (GPS) receiver, which is used to calculate the wind speed and direction at any point in the atmosphere during the flight. The temperature sensor (thermistor) is just above the white wire that sticks upward on the instrument. The humidity sensor (hygristor) is located inside the instrument and is sealed off with masking tape to prevent moisture from contminating the data. The radio transmitter, GPS receiver, and pressure sensor are all located inside the styrofoam packaging inside the radiosonde. The radio transmitter sends data to the office, and we are able to adjust the frequency to a range between 1676 and 1682 MHz.
|
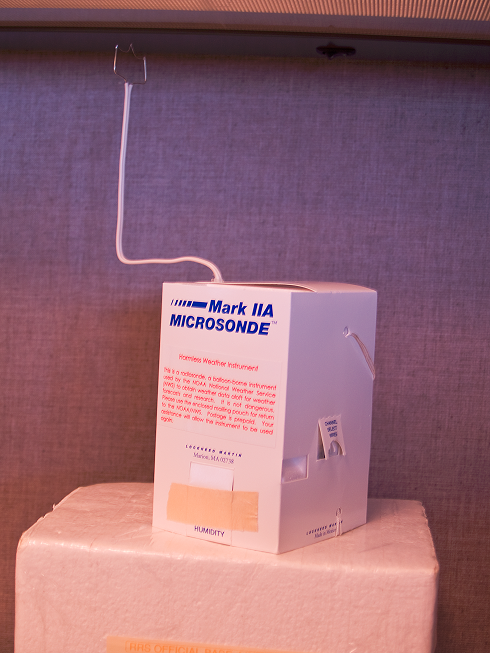 |
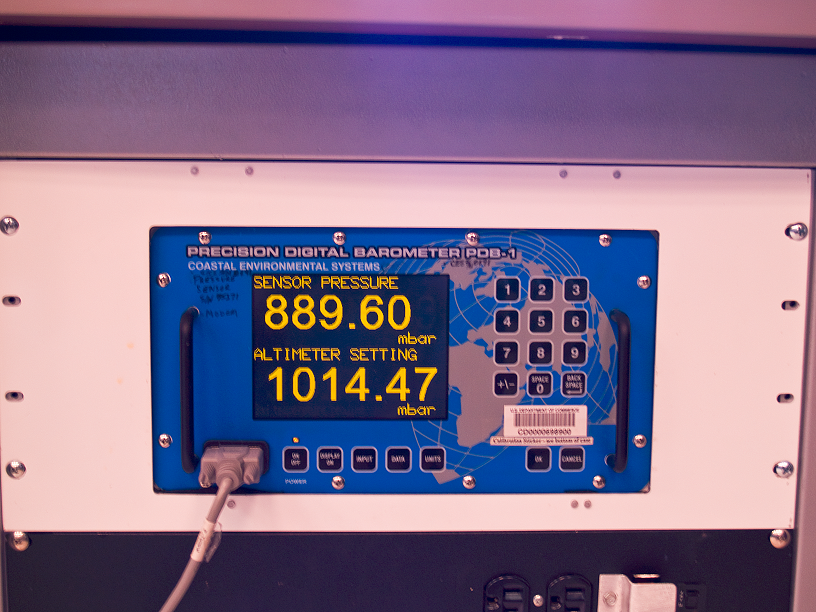
| The radiosonde itself is powered by a small battery that must be charged about 15 minutes prior to the flight. In order to activate the battery, it must be soaked in water for a two-minute period. Once the battery is activated, it can provide power to the radiosonde for up to three hours. After the battery is connected to the radiosonde and stuffed into the packaging, it takes about five minutes for the instrument to be fully charged. Next, the radiosonde is placed on a styrofoam box to be baselined. During the baseline process, the radiosonde acquires a GPS signal and is being checked to ensure the data it generates is of good quality. The pressure data the radiosonde generates is checked against the station pressure equipment that is located near the upper air workstation. If the pressure data that the radiosonde transmits is ±5 mb different than the station pressure, the instrument must be rejected and a new radiosonde will be used. The baseline process usually runs for another five minutes. |
 |
| If the radiosonde passes the baseline test, the data will be calculated by the RWS software, and the software will be awaiting balloon release. Before launching the balloon, we need to change the antenna orientation in the RWS software so that it is pointed in the general direction and elevation the balloon should travel. Next, it's time to go outside and get ready for the launch. After we place the radiosonde in a bucket, we'll open the garage door we'll launch from and tie the 100-foot piece of twine to the ring on the top of the instrument. This completes the flight train so that the balloon is connected to the parachute, which is connected to the radiosonde. |
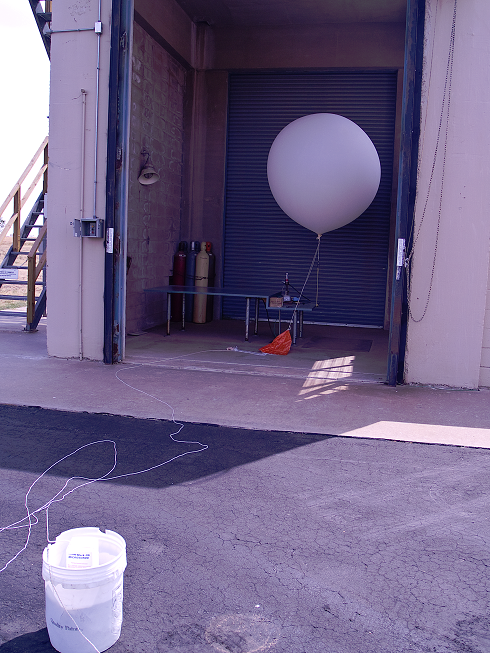 |
| Before releasing the balloon, we need to call inside to the office to ensure that the GPS still has a good signal, the launch is on time, and the status messages on the software are displaying check marks. If everything is acceptable, the observer is given the green light for launch. When ready, the observer goes inside the inflation shelter, grabs the balloon and unhooks it, walks outside and grabs the radiosonde, and releases the balloon first and then the radiosonde once the balloon has gained enough height. As the balloon rises, it encounters lower pressure and expands. By the time it bursts above 100,000 feet above the surface, the balloon will have expanded to almost 30 feet in diameter! |
| Proceed to the next page to see the data that the radiosonde transmits |
|


